



Διαδικτυακό καζίνο — εταιρεία στοιχημάτων με viva wallet: πληρωμές, καταθέσεις και αναλήψεις: Στάδια καταθέσεων και αναλήψεων
Διαθέσιμες μέθοδοι πληρωμής Στάδια καταθέσεων και αναλήψεων Έλεγχος λογαριασμού Ελάχιστες

Ever tried slicing a ripe tomato, only to squash it? A dull kitchen knife turns simple food prep into a frustrating chore. Fortunately, sharpening a kitchen knife doesn’t require professional chef skills. You need a suitable sharpener, a steady angle, and a little practice.
Quick answer: Secure a medium-grit whetstone, match your knife’s existing bevel, and move the cutting edge across the stone from heel to tip. Work both sides until you form an even apex. Remove the burr, clean the blade, and test it safely. The full process follows below.
For reliable cutting tools, explore kitchen knives at American Knife Depot before choosing your next everyday blade.
Honing and knife sharpening solve different problems. Daily cutting may roll part of a thin edge sideways. A smooth honing steel helps align the edge, restoring cleaner cuts without deliberately grinding away steel. Sharpening a kitchen knife uses abrasives to remove material and rebuild a worn cutting edge. An abrasive ceramic honing rod can also remove some metal.
Here’s the practical difference between honing and sharpening: a slightly rolled edge may respond to a few gentle honing passes. A genuinely dull blade needs sharpening. Chipped or severely damaged knife edges might require professional repair.
Remember: Honing maintains an existing edge; sharpening restores one that’s worn away.
Inspect the knife edge under good lighting. If you see chips, rust, or a shiny flat along the apex, avoid aggressive guessing—correct edge damage before chasing extra polish.

Not every knife sharpening method suits every kitchen. Your budget, blade type, and experience determine the best choice. This comparison helps you select sharpening equipment without buying unnecessary accessories.
| Tool | Best for | Watch out for |
| Whetstone or water stone | Precise freehand sharpening | Requires angle control |
| Diamond sharpening stone | Efficient edge restoration | Coarse plates remove steel quickly |
| Manual knife sharpener | Convenient routine work | Fixed angles limit compatibility |
| Electric knife sharpener | Fast guided sharpening | Some settings remove excess metal |
| Guided knife sharpening system | Repeatable bevel angles | Clamping affects actual angle |
| Honing rod or honing steel | Regular knife edge maintenance | Cannot repair serious wear |
| Leather strop | Burr removal and edge polishing | Won’t reshape damaged steel |
Additional sharpening supplies include a non-slip sharpening base, clean towels, water or approved oil, and optional bevel gauge. A knife sharpening kit may bundle these items. Choose useful tools over impressive packaging.
Need a better starting point? Compare guided sharpening systems in American Knife Depot’s guide.
A stone’s grit rating describes its abrasive size, although rating standards differ. Start with the finest abrasive that can fix your particular problem.
| Approximate grit | Typical job |
| 220–600 | Coarse edge repair |
| 800–2000 | Routine sharpening and burr formation |
| 3000–6000 | Fine-grit sharpening and refinement |
A 1000-grit whetstone is a practical medium-grit stone for ordinary upkeep. A 6000-grit whetstone can refine its scratches, but isn’t mandatory for sharp kitchen knives. The Darex Work Sharp Whetstone illustrates a 1000/6000 combination. Some water stones need stone soaking; splash-and-go stones do not. Oil stones require suitable lubrication. Follow manufacturer instructions for stone lubrication, cleaning, and sharpening stone flattening.
Angle controls both bite and edge durability. Many double-bevel cooking knives fall around 15 to 20 degrees per side. A 15-degree sharpening angle creates a thinner edge than a 20-degree sharpening angle, assuming similar blade geometry. Neither is automatically better.
Japanese-style knives often use slimmer bevels; Western-style knives may use sturdier ones. However, knife steel, blade hardness, and factory design matter more than broad labels. Single-bevel knives, asymmetrical bevels, and serrations need their own techniques. Check your manufacturer’s recommendations before changing a knife bevel.
Color the bevel with a marker. Make one light pass on a fine sharpening stone, then inspect the ink. If ink disappears near the shoulder only, your angle is too low; raise it slightly. If it disappears only at the cutting edge, lower the angle. Aim for contact across the bevel. This simple test improves sharpening consistency without expensive instruments. Work Sharp explains the method.
Before sharpening, inspect the blade heel, blade tip, and handle. Stabilize your abrasive on a dry, non-slip work surface. Keep fingertips above the edge. Proper knife handling matters more than speed.
Choosing a replacement chef’s knife? Browse American Knife Depot’s chef’s knives and check each blade’s care guidance.
Whetstone sharpening lets you control abrasive refinement, sharpening pressure, and bevel shape. These knife-sharpening techniques apply to standard double-bevel blades. Start with an inexpensive cooking knife.
Use a stable sharpening base and the manufacturer’s recommended water or oil. Begin around 1000 grit for an ordinarily dull knife. Keep the stone flat and clear of grit contamination. Hold the handle firmly. Place your other fingertips on the flat blade face, safely behind the edge.
Set the bevel against the abrasive surface at your chosen angle. Push or draw the blade across the stone in a controlled motion, covering the entire length. Follow the curved tip without tipping onto its point. Maintain consistent pressure; lighter strokes work better as the edge improves.
Work in short groups of sharpening passes. Inspect the contact pattern rather than counting strokes unquestioningly. With a long blade, sharpen manageable sections while blending their edges. This helps preserve edge consistency and prevents a rounded blade tip.
Flip the knife safely and repeat on the other side. Your goal is for both bevels to meet at one apex. A burr is a tiny ridge of displaced metal created during sharpening. Look for its shadow using angled light. Never run a finger along the blade edge.
Alternating sharpening strokes can balance both sides after reaching the apex. Gradually reduce pressure and, if necessary, move to a finer stone. Don’t assume a mirror finish means the edge is sharp. A polished but poorly formed apex still cuts badly.
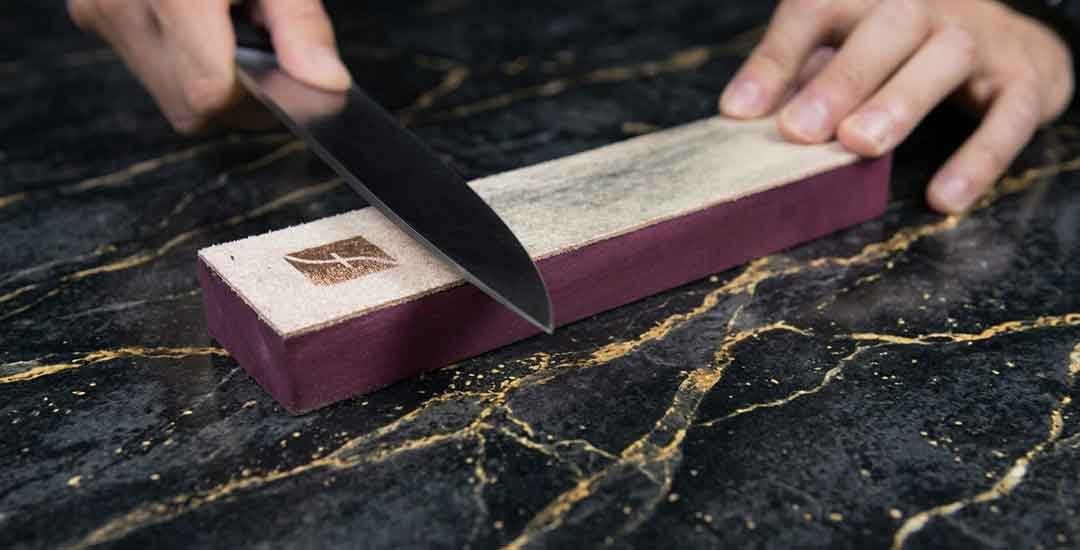
For edge deburring, make gentle alternating passes using your stone’s recommended technique. Stropping a knife on a leather strop can remove lingering fragments. Move the edge backward across the leather, never into it. Avoid lifting the spine excessively or rounding the fresh edge.
Wash off metal filings and abrasive residue. Dry the knife and stone completely. Regular whetstone maintenance protects the abrasive surface and improves consistency in future sharpening. Before each session, inspect the stone for hollows; uneven abrasives make it harder to maintain your intended bevel.
Want to develop your technique? Explore American Knife Depot’s sharpening-system advice for different blade styles.
A pull-through knife sharpener guides the knife through abrasive slots. Set the unit firmly on the counter, choose the correct stage, and draw the blade through with light pressure. Follow the supplied directions. Some aggressive cutters remove more steel than necessary, especially on thin edges.
The Smith’s Edge Pro Pull-Thru Sharpener is one familiar example. Confirm blade compatibility instead of assuming every kitchen knife fits.
A guided knife sharpener helps maintain a consistent angle. Systems such as the Spyderco Sharpmaker and Work Sharp Benchtop Angle Set use adjustable or fixed guides. Follow each model’s blade orientation and safety guards. On clamped systems, check that the real bevel angle matches your intended setting.
Electric sharpening systems use powered abrasives. Begin with the recommended stage, keep pressure light, and let the mechanism work. Avoid repeated passes once the edge performs well. Specialty steel, single-bevel designs, and chipped blades may need professional knife sharpening instead.
Compare before you buy: Read American Knife Depot’s guided-sharpener overview.
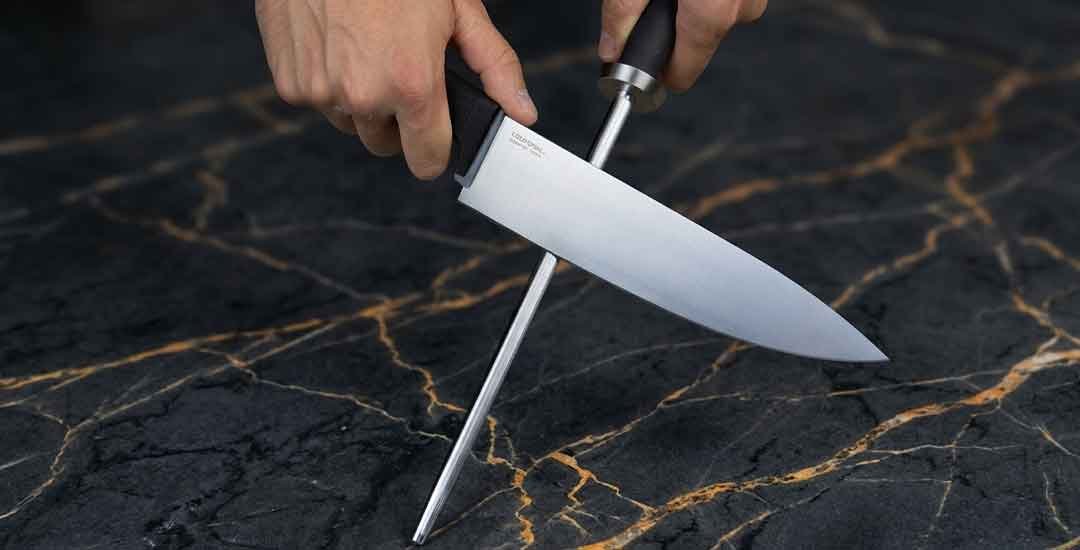
For routine kitchen knife maintenance, place the honing steel tip-down on a stable cutting board. Hold its handle securely, position the blade at its existing edge angle, and draw the knife down the rod from heel to tip. Keep the edge away from your supporting hand. Alternate sides with light, deliberate strokes.
This honing steel technique helps with a slightly rolled edge. A ceramic sharpening rod often adds mild abrasion, so don’t assume every rod simply straightens metal. For delicate, hard blades, consult the maker before using steel. Shun explains honing versus sharpening.
Keeping your cooking tools organized? See kitchen accessories at American Knife Depot.

Hold a sheet of paper by its top corner, away from your body. With your free hand clear, slice downward through the exposed edge. A clean, continuous cut suggests a well-formed apex. Snags at one spot may indicate burr residue or uneven sharpening.
Set a ripe tomato on a stable board. Make a gentle slice without pressing hard. A sharp edge bites the skin instead of pushing the tomato flat. Repeat using different blade sections to check edge consistency. Both tests assess cutting performance; neither measures long-term edge retention.
Suppose a knife still tears paper after careful sharpening. Don’t immediately grind harder. First inspect whether both bevels reached the apex. Then check for a leftover wire edge. Diagnosing the cause protects your knife’s longevity and prevents unnecessary wear.
Need dependable kitchen equipment? Explore the kitchen collection at American Knife Depot.
Sharpening frequency depends on how you use the knife, the cutting board material, blade hardness, and storage. A home cook might sharpen only a few times a year; professional chefs may need to sharpen more often. Judge the knife’s actual performance rather than following a rigid calendar.
Build a simple knife maintenance routine: hand-wash, dry promptly, use wood or suitable plastic cutting boards, and protect the edge in a sheath, block, or appropriate rack. Avoid glass boards, loose drawer storage, and twisting cuts. Good kitchen knife care supports smoother cuts and extends blade life.

A medium-grit stone or suitable guided sharpener works well for beginners. Consistent technique matters more than owning expensive equipment.
Yes. Compatible manual and electric tools can sharpen kitchen knives. A smooth honing rod maintains an existing edge rather than rebuilding a badly worn one.
A light touch-up may take minutes. Extensive edge restoration takes longer. Stop when testing shows a sound edge, not after an arbitrary stroke count.
Yes, with specialized methods and compatible tools. Ordinary pull-through devices may damage these edges. Professional service is often safer.
Seek help for deep chips, bent tips, severe wear, or valuable specialty knives. Skilled restoration can preserve more of the original blade geometry.

Sharpening a kitchen knife starts with inspecting its edge, matching its angle, sharpening both sides, and removing the burr. Pair those skills with thoughtful knife care, and food preparation becomes smoother without needless grinding. Whether you’re sharpening kitchen knives for occasional dinners or daily meals, accuracy beats force.
Ready for a more reliable kitchen setup? Explore chef’s knives and kitchen essentials at American Knife Depot. Choose tools you’ll use confidently, then keep them sharp with regular care.
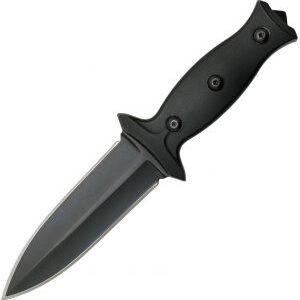
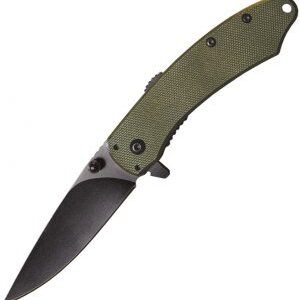
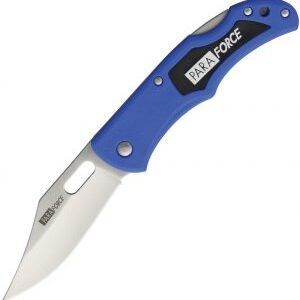
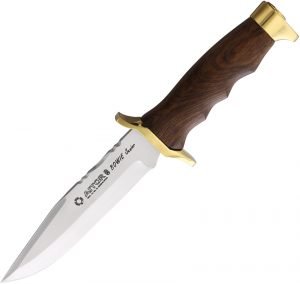

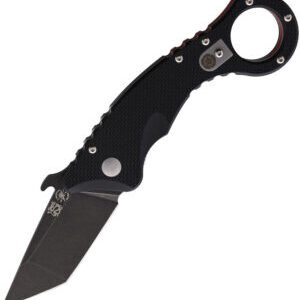


















Civivi nails everyday carry. Smooth action, perfect balance, and clean design. Easily one of the best EDC knives I’ve owned at this price point.